Roses are among the most cherished flowers in the world, admired for their beauty, fragrance, and symbolism. While many gardeners purchase rose plants from nurseries, propagating roses at home is a rewarding way to expand your garden. By using simple techniques, you can grow new rose plants from existing ones, ensuring that the qualities you love are preserved. This guide outlines seven easy steps to propagate rose plants successfully.
Step 1: Select Healthy Parent Plants
The first step in propagation is choosing a strong and disease-free parent plant. Healthy roses produce cuttings that are more likely to root and thrive. Look for stems that are mature but not too woody, with vibrant leaves and no signs of pests or fungal infections. A healthy parent plant ensures that your new roses inherit the same vigor and beauty.
Step 2: Prepare the Cuttings
Once you have selected the parent plant, cut a stem that is about 6 to 8 inches long. Use clean, sharp pruning shears to avoid damaging the stem. Remove any flowers or buds, as they can divert energy away from root development. Trim the leaves, leaving only a few at the top to support photosynthesis. This preparation helps the cutting focus its energy on forming roots.

Step 3: Apply Rooting Hormone
To increase the chances of successful propagation, dip the cut end of the stem into rooting hormone powder or gel. Rooting hormone stimulates root growth and protects the cutting from disease. While this step is optional, it significantly improves success rates, especially for beginners.
Step 4: Choose the Right Soil and Container
Roses require well-draining soil to develop strong roots. A mix of sand, perlite, and compost works well for propagation. Fill a small pot or container with this soil mix, ensuring it has drainage holes at the bottom. Moisten the soil before planting the cutting to create a welcoming environment for root growth.
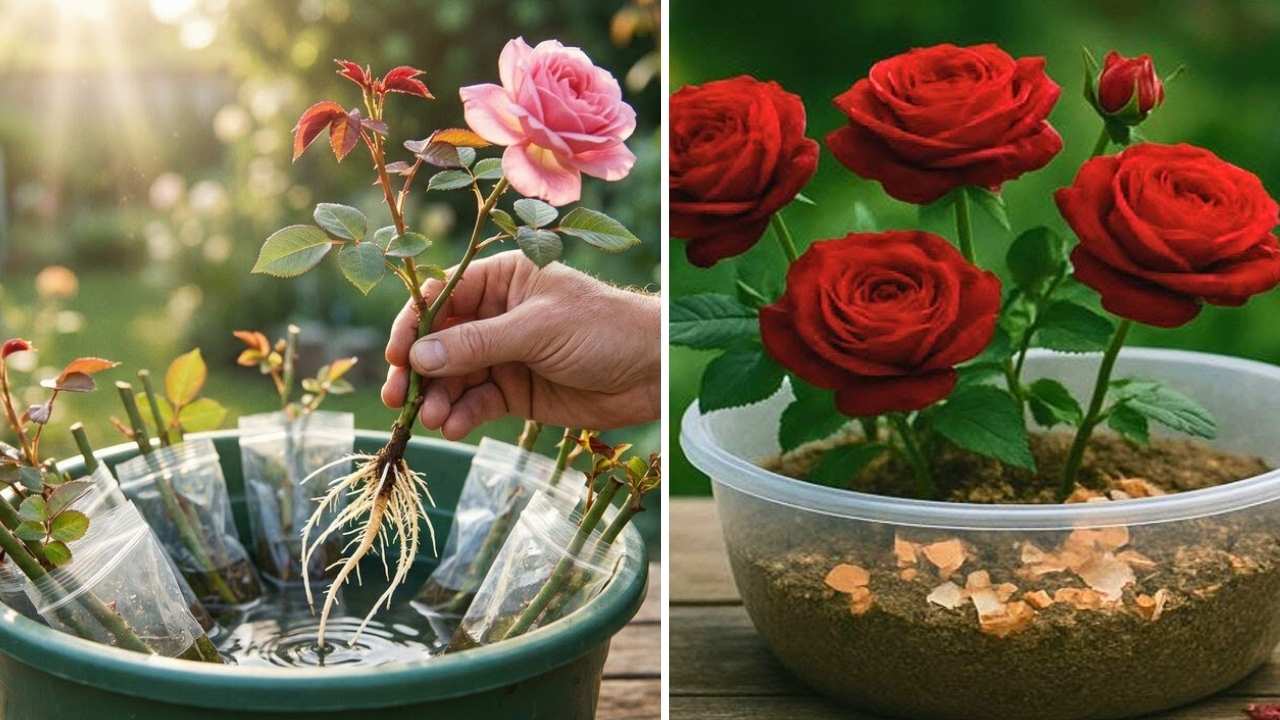
Step 5: Plant the Cutting

Insert the prepared cutting into the soil, burying at least two inches of the stem. Firm the soil around the base to hold the cutting upright. Place the container in a warm, bright location with indirect sunlight. Covering the pot with a plastic bag or dome can help retain humidity, which is essential for root formation. Allow some airflow to prevent mold growth.

Step 6: Water and Care
Consistent moisture is crucial during the early stages of propagation. Water the soil lightly, keeping it damp but not soggy. Overwatering can cause rot, while underwatering may dry out the cutting. Mist the leaves occasionally to maintain humidity. Within a few weeks, you should notice new growth, a sign that roots are developing.
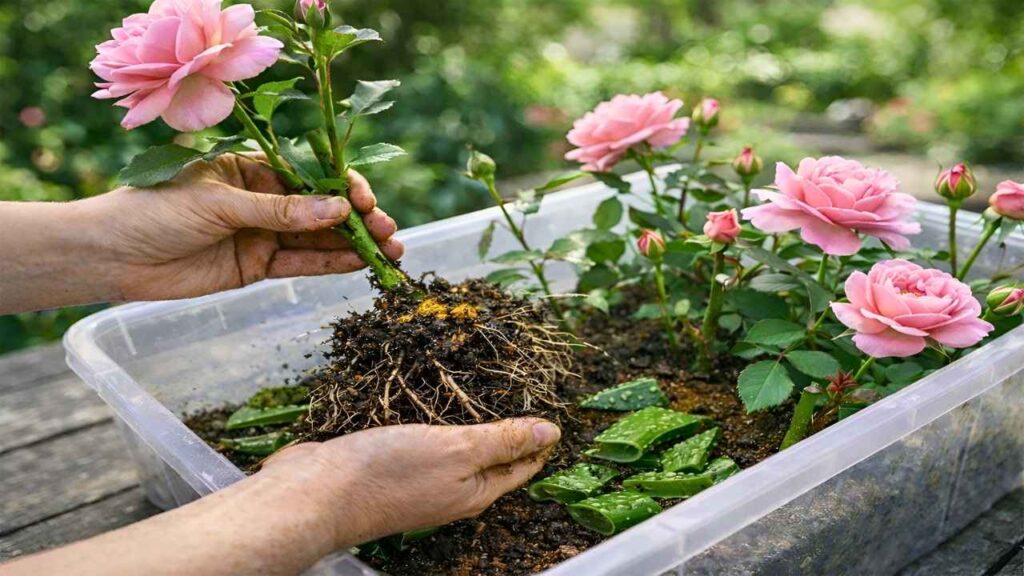
Step 7: Transplant the New Plant
Once the cutting has established roots and shows signs of healthy growth, it can be transplanted into a larger container or directly into the garden. Choose a sunny location with well-draining soil. Roses thrive in areas with good air circulation and regular watering. Fertilize the young plant with a balanced rose fertilizer to encourage strong growth and vibrant blooms.
Common Challenges and Solutions
Propagation may not always succeed on the first attempt. Some cuttings may fail to root due to improper care or unsuitable conditions. To improve success rates, always use healthy parent plants, apply rooting hormone, and maintain consistent humidity. If mold develops, remove the covering and allow better airflow. Patience is key, as root development can take several weeks.

Benefits of Propagating Roses at Home

Beyond the joy of gardening, propagating roses offers practical benefits. It allows you to expand your garden without purchasing new plants, saving money in the process. Propagation also ensures that the qualities of your favorite rose variety are preserved. Sharing propagated plants with friends and family can spread beauty and strengthen connections.
Key Highlights
- Healthy parent plants are essential for successful propagation
- Cuttings should be 6 to 8 inches long with trimmed leaves
- Rooting hormone improves success rates and protects against disease
- Well-draining soil and proper containers support root development
- Consistent moisture and humidity are crucial during early growth
- Transplant rooted cuttings into sunny, well-draining soil for thriving plants
- Patience and care lead to beautiful, long-lasting rose blooms
Final Words
Propagating rose plants at home is a simple yet rewarding process that allows gardeners to enjoy more of these beloved flowers. By following seven easy steps—selecting healthy cuttings, preparing them properly, and providing consistent care—you can successfully grow new rose plants and fill your garden with vibrant blooms. Whether you are a beginner or an experienced gardener, propagation offers a cost-effective and fulfilling way to expand your rose collection and enjoy the timeless beauty of roses.