When the aroma of baked puff pastry fills the air, it instantly brings warmth and joy to the table. A classic Wellington is often associated with meat, but a Veg Wellington is an equally delightful and luxurious alternative that can impress anyone, whether they are vegetarian or not. This dish combines flaky golden pastry with a rich vegetable filling, creating a perfect balance of texture and flavor. If you are looking for a comforting yet elegant recipe to serve at dinner or a festive occasion, this Easy Veg Wellington is your answer.
Below, you’ll find a simple five-step recipe that guarantees puff pastry perfection, even for beginners. With just a few quality ingredients and a bit of patience, you can craft a dish that looks as stunning as it tastes.
Step 1: Gather the Ingredients
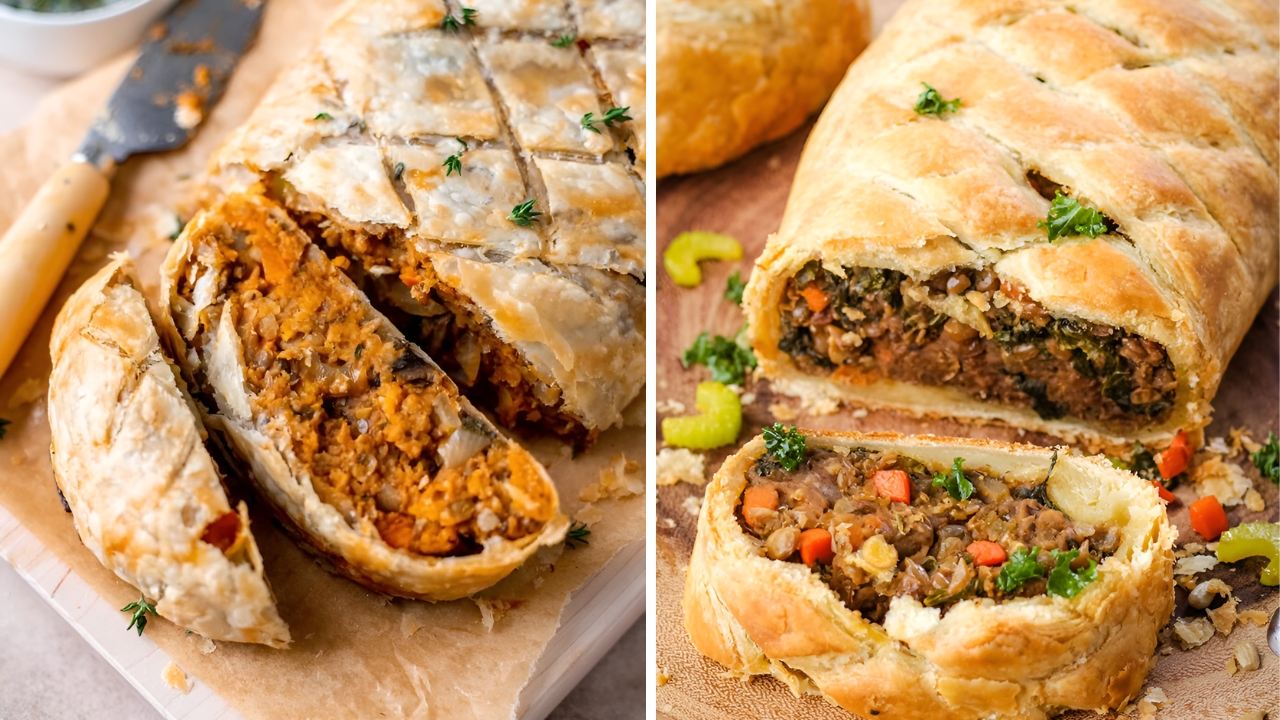
Before you begin, make sure you have all the ingredients ready. The charm of this recipe lies in its versatility, allowing you to use your favorite vegetables or whatever you have on hand. You’ll need a sheet of puff pastry, preferably thawed if frozen. For the filling, a mix of mushrooms, spinach, bell peppers, onions, garlic, and carrots works beautifully. You’ll also need olive oil, salt, pepper, fresh herbs like thyme or rosemary, and a touch of soy sauce or balsamic vinegar for depth of flavor.
If you want to make the Wellington richer, you can add some crumbled feta, ricotta, or even a vegan cheese alternative. An egg or a plant-based milk wash is used to give the pastry its golden finish. Once you’ve assembled everything, preheat your oven to around 200°C (392°F) so that it’s ready when you need it.
Step 2: Prepare the Vegetable Filling
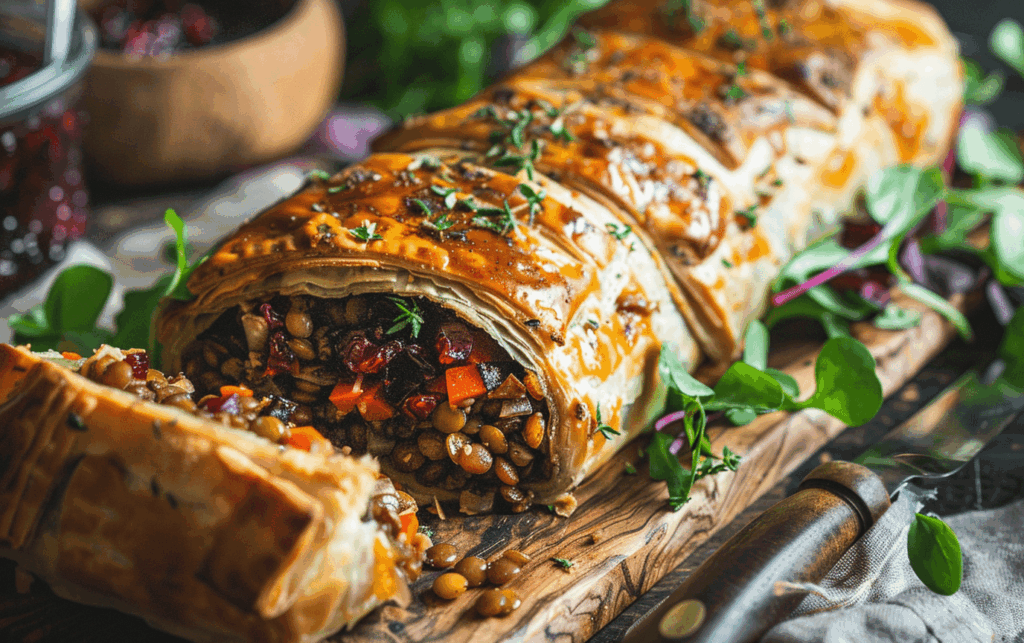
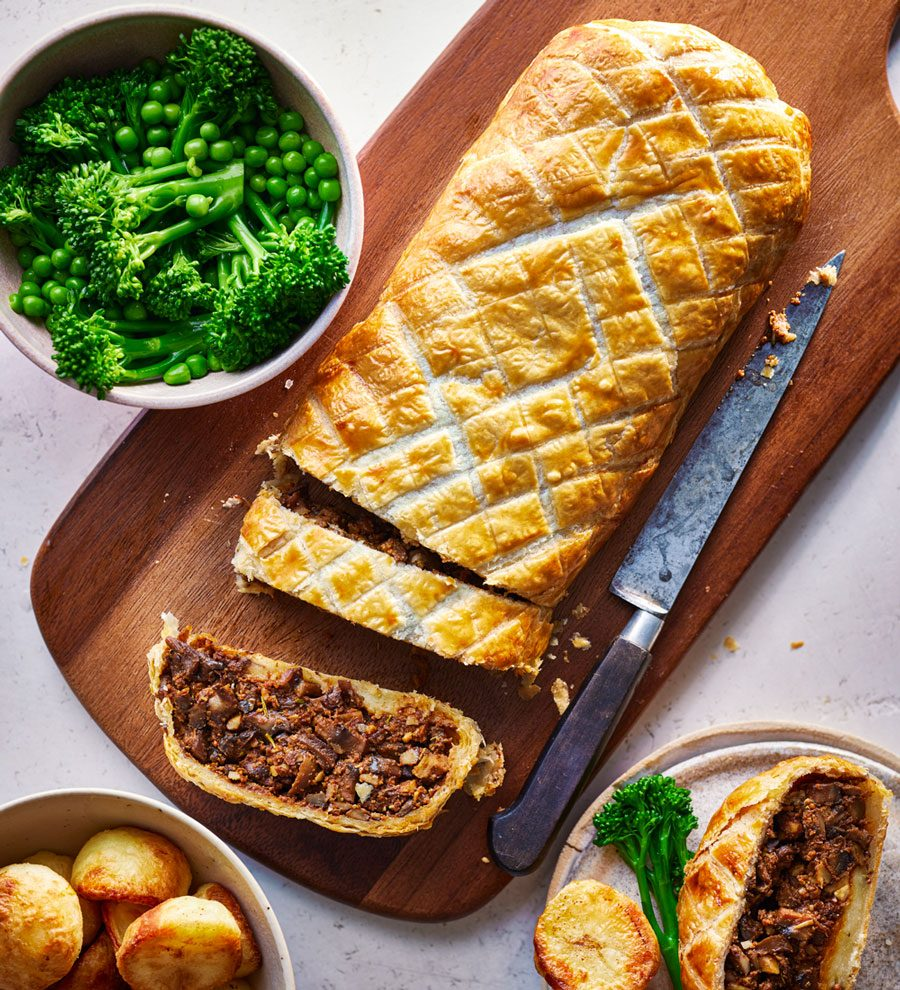
The key to a great Veg Wellington is the filling. It should be flavorful, slightly dry, and firm enough to hold together when wrapped in pastry. Start by heating olive oil in a pan over medium heat. Add finely chopped onions and garlic, sautéing them until they become soft and fragrant. Then, toss in the chopped mushrooms, which will release their moisture and develop a meaty texture as they cook.

Add the rest of your vegetables gradually bell peppers, carrots, and spinach. Sprinkle in salt, pepper, and herbs for seasoning. A splash of soy sauce or balsamic vinegar will add umami depth that makes the filling taste more complex. Cook until all moisture evaporates; this is important to prevent a soggy pastry later. Once done, let the mixture cool completely before assembling your Wellington.
Step 3: Assemble the Wellington
This is where your creativity comes into play. Lay a sheet of puff pastry on a lightly floured surface or parchment paper. If you are using store-bought pastry, make sure it’s pliable but still cold. Spoon the cooled vegetable mixture into the center of the pastry, shaping it into a firm log or rectangular mound. If you are adding cheese, layer it neatly on top of the filling.
Now, gently fold the pastry over the filling, sealing the edges by pressing them together with your fingers or a fork. Make sure there are no cracks or openings. If you have extra pastry, you can cut decorative strips or shapes to place on top it adds a beautiful, homemade touch. Brush the surface with the egg wash or milk wash for that irresistible golden sheen.

Step 4: Bake to Perfection
Transfer the assembled Wellington to a lined baking tray. Bake it in the preheated oven for about 25 to 35 minutes, depending on your oven. Keep an eye on it after the 20-minute mark; the pastry should puff up and turn a lovely golden brown. The aroma that fills your kitchen will tell you that your Veg Wellington is almost ready.
To check doneness, gently tap the top the pastry should sound crisp and feel flaky. Once baked, let it rest for at least 10 minutes before slicing. This step allows the filling to set, ensuring clean and neat slices that showcase the colorful layers inside.

Step 5: Serve and Enjoy
Now comes the best part serving your masterpiece. Slice the Wellington carefully with a sharp knife and plate it with your favorite sides. A light green salad, mashed potatoes, or roasted vegetables pair beautifully with the rich flavors of the pastry. For a touch of elegance, serve it with a drizzle of vegetarian gravy or a tangy tomato relish.
Each bite delivers a delightful contrast of crispy pastry and savory vegetable filling. It’s not only a feast for the taste buds but also a visual delight that adds charm to any table. Whether you serve it for a Sunday lunch, a festive dinner, or a special celebration, this Veg Wellington will surely impress your guests.
Tips for Puff Pastry Perfection
Achieving that perfect puff pastry texture is all about technique and temperature. Always keep your pastry cool until you’re ready to bake it warm pastry can become sticky and lose its layers. Make sure your filling is not too wet, as excess moisture can cause the pastry to become soggy. Using parchment paper when rolling or transferring your Wellington can help keep it intact and make cleanup easier.
If you have time, chilling the assembled Wellington for 15 minutes before baking helps it hold its shape and develop more distinct layers as it puffs. Lastly, avoid opening the oven frequently while baking, as the temperature drop can affect the rise.
Conclusion
The Easy Veg Wellington is proof that vegetarian food can be both indulgent and wholesome. It brings together the buttery flakiness of puff pastry with a hearty, flavorful filling that satisfies even the most devoted meat lovers. With just five simple steps, you can create a show-stopping centerpiece that looks impressive and tastes even better. Cooking should always be about joy and creativity, and this recipe captures both perfectly.

So, roll up your sleeves, get your ingredients ready, and let your kitchen be filled with the comforting aroma of a freshly baked Veg Wellington. You’ll be amazed at how simple it is to make something so special.
Disclaimer
This recipe is meant for general cooking inspiration and may be adapted to suit individual dietary preferences or allergies. Always check ingredient labels and ensure proper cooking temperatures for food safety. Results may vary depending on ingredients and oven type.